Custom Edit Controls for SharePoint SPFx WebParts
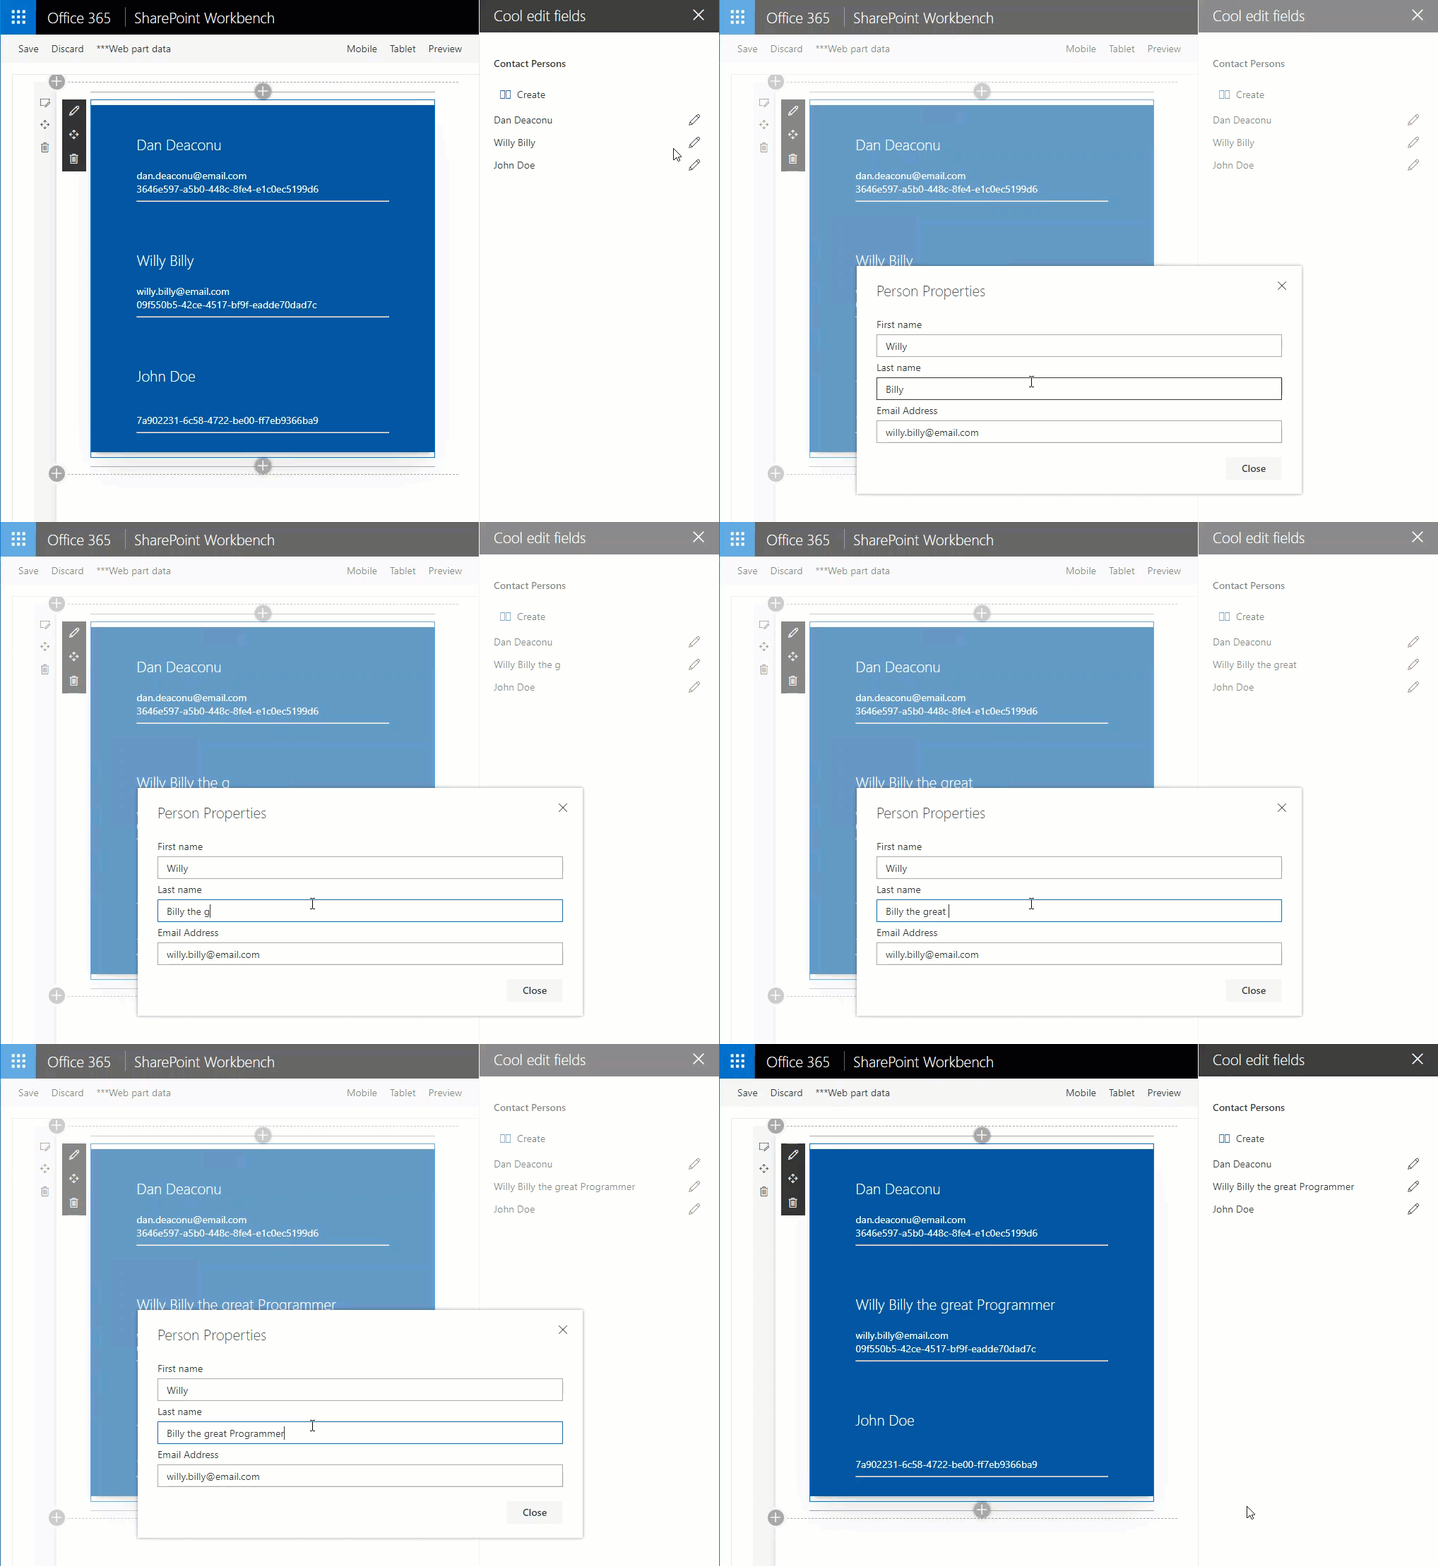
The edit panel for SPFx WebParts provides a new and consistent way to interact with the users. And although Microsoft has provided plenty of field types out of the box we still need to build our own some times. But what if we want to do something crazy? Like having an array of objects in our settings?
The easy part
Let’s say we store a list of users for a WebPart that shows Contact Persons. The first thing we would do is create a TypeScript model and extend the .manifest.json file. Something like this:
\src\models\personProperties.ts
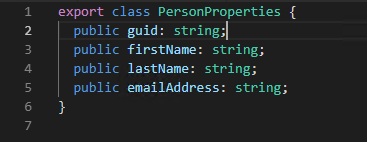
export class PersonProperties { public guid: string; public firstName: string; public lastName: string; public emailAddress: string; }
\src\webparts\coolEditFields\CoolEditFieldsWebPart.manifest.json
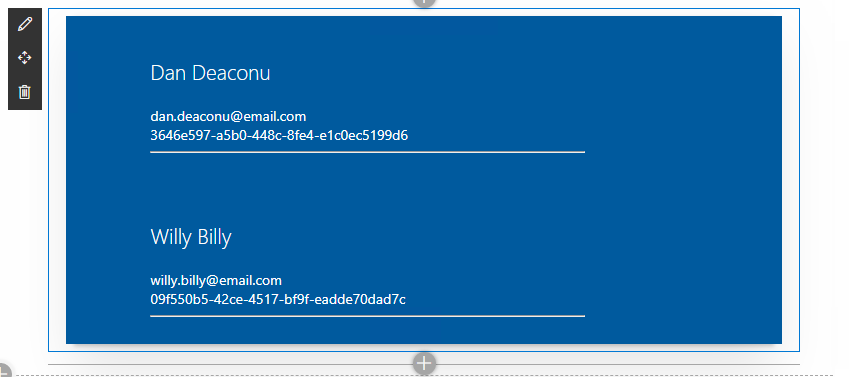
"preconfiguredEntries": [{ "groupId": "5c03119e-3074-46fd-976b-c60198311f70", // Other "group": { "default": "Other" }, "title": { "default": "Cool edit fields" }, "description": { "default": "WebPart with cool edit fields" }, "officeFabricIconFontName": "Page", "properties": { "contactPersons": [ { "guid": "3646e597-a5b0-448c-8fe4-e1c0ec5199d6", "firstName": "Dan", "lastName": "Deaconu", "emailAddress": "dan.deaconu@email.com" }, { "guid": "09f550b5-42ce-4517-bf9f-eadde70dad7c","firstName": "Willy", "lastName": "Billy", "emailAddress": "willy.billy@email.com" } ] } }]
export interface ICoolEditFieldsProps { contactPersons:PersonProperties[]; }
import { PersonProperties } from "../../../models/personProperties";
export interface ICoolEditFieldsWebPartProps { contactPersons:PersonProperties[]; }
React.createElement(CoolEditFields, { contactPersons:this.properties.contactPersons, });

React.createElement(CoolEditFields, { ...this.properties });
export default class CoolEditFields extends React.Component<ICoolEditFieldsProps, {}> { public render(): React.ReactElement<ICoolEditFieldsProps> { return ( <div className={styles.coolEditFields}> <div className={styles.container}> {this.props.contactPersons.map(person => ( <div className={styles.row}> <div className={styles.column}> <p className={styles.title}> {person.firstName} {person.lastName} </p> {person.emailAddress} <br /> {person.guid} <hr /> </div> </div> ))} </div> </div> ); } }
The fun part
Settings are there, but how do we edit them? Time to create some components ⚡
Go ahead and create a new folder somewhere in your project. After that you will need the following files:
- personsField.tsx
- iPersonsField.ts
- personsField.module.scss
- persosnsField.module.scss
These files are for our custom React Component
- propertyPanePersonsField.tsx
- iPropertyPanePersonsField.ts
- iPropertyPanePersonsFieldProps.ts
- propertyPanePersonsField.tsx
These files tell our React Component how to talk with SharePoint
Let’s start with the interface for our React Component. This component will receive from SharePoint the property itself (in our case the array of persons), a callback when something has changed (similar to pushing state up) and a stateKey (required by SPFx, will trigger rerendering)
import { PersonProperties } from "../../../models/personProperties"; export interface IPersonsField { persons: PersonProperties[]; onChanged: (persons:PersonProperties[]) =>void; stateKey:string; }
The React Component will render an add button, the persons names with a small edit button and an add/edit modal. I won’t go into the details about React development, but here is the code (you’re gonna have to figure out the CSS on your own 😉)
import * as React from "react"; import { ActionButton, IconButton } from "office-ui-fabric-react/lib/Button"; import * as strings from "CoolEditFieldsWebPartStrings"; import { Dialog, DialogType, DialogFooter } from "office-ui-fabric-react/lib/Dialog"; import { DefaultButton } from "office-ui-fabric-react/lib/Button"; import { TextField } from "office-ui-fabric-react/lib/TextField"; import { getGUID } from "@pnp/common"; import { find } from "@microsoft/sp-lodash-subset"; import { IPersonsField } from "./iPersonsField"; import { PersonProperties } from "../../../models/personProperties"; import styles from "./personsField.module.scss"; export interface IPersonsFieldState { openedModalItemGuid?: string; persons:PersonProperties[]; } export default class PersonsField extends React.Component<IPersonsField, IPersonsFieldState> { constructor(props:IPersonsField) { super(props); this.state= { persons:this.props.persons, }; } private onPersonPropertiesChanged (personGuid: string, propertyName: string, value:any) { var persons=this.state.persons; for (var column of persons) { if (column.guid === personGuid) { column[propertyName] =value; } } this.setState({ persons }); this.props.onChanged(persons); } public render():JSX.Element { var selectedPerson = find(this.state.persons, (person: PersonProperties) => { return person.guid == this.state.openedModalItemGuid; }); return ( <div> <ActionButton iconProps= onClick={() => { var newPersons = this.state.persons; newPersons.push({ guid:getGUID(), firstName:"John", lastName:"Doe", emailAddress:"", }); this.setState({ persons:newPersons, }); this.props.onChanged(newPersons); }}>{strings.create}</ActionButton> {this.state.persons.map(personProperties=> ( <div className={styles.hvColumnSetting} key={personProperties.guid}> <div className={styles.hvColumnTitle}> {personProperties.firstName} {personProperties.lastName} </div> <IconButtoniconProps= onClick={() => this.setState({ openedModalItemGuid:personProperties.guid })}/> </div> ))} {this.state.openedModalItemGuid ? ( <Dialog hidden={false} onDismiss={() =>this.setState({ openedModalItemGuid:undefined })} minWidth={630} title={strings.modalHeader} type={DialogType.normal}> <TextField label={strings.firstName} value={selectedPerson.firstName} onChange={(_event, value) =>this.onPersonPropertiesChanged(selectedPerson.guid, "firstName", value)} /> <TextField label={strings.lastName} value={selectedPerson.lastName} onChange={(_event, value) =>this.onPersonPropertiesChanged(selectedPerson.guid, "lastName", value)} /> <TextField label={strings.emailAddress} value={selectedPerson.emailAddress} onChange={(_event, value) =>this.onPersonPropertiesChanged(selectedPerson.guid, "emailAddress", value)} /> <DialogFooter> <DefaultButtononClick={() =>this.setState({ openedModalItemGuid:undefined })}text={strings.close}/> </DialogFooter> </Dialog> ) : null} </div> ); } }
So little code for so much logic? The magic of modern programming 🧙♂️
Let’s tell SharePoint how to talk with our component. Firstly we need the interface for our custom PropertyPane. This includes our data (in this case an array of PersonProperties) and a callback when the data has changed.
\src\webparts\coolEditFields\personsField\iPropertyPanePersonsField.ts
import { PersonProperties } from "../../../models/personProperties"; export interface IPropertyPanePersonsFieldProps { persons: PersonProperties[]; onPropertyChange: (propertyPath: string, newValue: any) => void; }
\src\webparts\coolEditFields\personsField\iPropertyPanePersonsFieldInternalProps.ts
import { IPropertyPanePersonsFieldProps } from "./iPropertyPanePersonsFieldProps"; import { IPropertyPaneCustomFieldProps } from "@microsoft/sp-webpart-base"; export interface IPropertyPanePersonsFieldInternalProps extends IPropertyPanePersonsFieldProps, IPropertyPaneCustomFieldProps {}
\src\webparts\coolEditFields\personsField\propertyPanePersonsField.ts
import * as React from "react"; import * as ReactDom from "react-dom"; import { IPropertyPaneField, PropertyPaneFieldType } from "@microsoft/sp-webpart-base"; import { IPropertyPanePersonsFieldProps } from "./iPropertyPanePersonsFieldProps"; import { IPropertyPanePersonsFieldInternalProps } from "./iPropertyPanePersonsFieldInternalProps"; import { IPersonsField } from "./iPersonsField"; import { PersonProperties } from "../../../models/personProperties"; import PersonsField from "./personsField"; export class PropertyPanePersonsField implements IPropertyPaneField { public type: PropertyPaneFieldType = PropertyPaneFieldType.Custom; public targetProperty: string; public properties: IPropertyPanePersonsFieldInternalProps; private elem: HTMLElement; constructor(targetProperty: string, properties: IPropertyPanePersonsFieldProps) { this.targetProperty = targetProperty; this.properties = { key: "personsPropertersSettingsField", onRender: this.onRender.bind(this), persons: properties.persons, onPropertyChange: properties.onPropertyChange, }; } public render(): void { if (!this.elem) { return; } this.onRender(this.elem); } private onRender(elem: HTMLElement): void { if (!this.elem) { this.elem = elem; } const element: React.ReactElement = React.createElement(PersonsField, { persons: this.properties.persons, onChanged: this.onChanged.bind(this), // required to allow the component to be re-rendered by calling this.render() externally stateKey: new Date().toString(), }); ReactDom.render(element, elem); } private onChanged(value: PersonProperties[]): void { this.properties.onPropertyChange(this.targetProperty, value); } }
🎉 Now we can use it 🎉
Head over to the WebPart Component and add the custom component to getPropertyPaneConfiguration()
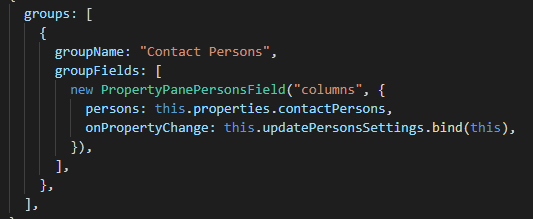
groups: [ { groupName: "Contact Persons", groupFields: [ new PropertyPanePersonsField("columns", { persons: this.properties.contactPersons, onPropertyChange: this.updatePersonsSettings.bind(this), })] } ],
You’re gonna need the update function too 😉
private updatePersonsSettings(propertyPath: string, newValue: PersonProperties[]) { update(this.properties, propertyPath, () => { return newValue; }); this.render(); }
🚀 gulp serve and check it out 🚀


